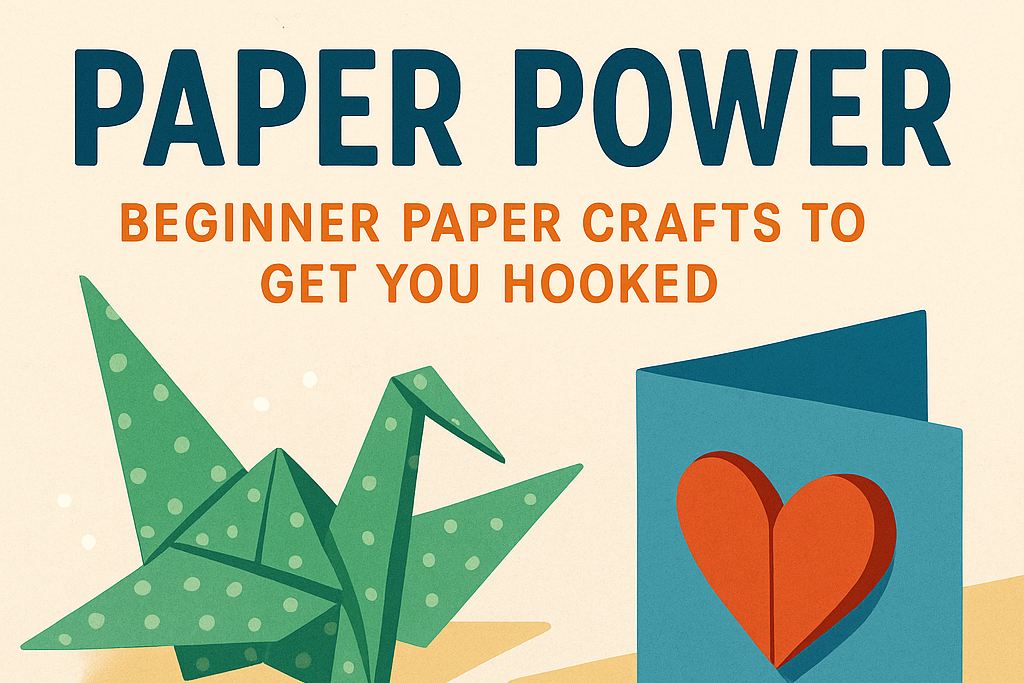
You know what they say—give a crafter a piece of paper, and they’ll make a masterpiece (or at least a really charming mess). Today’s all about mastering paper crafts, one crease at a time. From the ancient elegance of origami to the heartfelt simplicity of handmade cards, this day is your paper playground.
Why Start with Paper Crafts?
Let’s be real: crafting can get pricey. But paper? Paper is the people’s medium. You likely already have some lying around—printer paper, old magazines, maybe even last year’s birthday cards (we’re recycling them now; it’s fine). Plus, paper crafts require minimal tools and zero experience. If you can fold and cut, you can conquer.
And hey, folding paper is cheaper than therapy.
Essential Materials
Here’s your no-stress starter kit for today:
-
Paper (colored, plain, old scraps—it’s all game)
-
Scissors or craft knife
-
Glue stick or double-sided tape
-
Ruler and pencil
-
Markers, pens, or crayons for flair
-
Optional: bone folder (fancy tool for smooth creases)
If origami’s on the table (and it is!), square paper is your best friend. Don’t have any? Just trim that A4 down into a square—it’s like giving it a glow-up.
Project 1: Classic Origami Crane
Yes, it’s the one you’ve seen in movies and restaurants and on sushi menus. The origami crane is the poster child of paper folding.
Why a crane?
In Japanese culture, cranes symbolize peace and hope. Legend says folding 1,000 of them grants a wish. We’re starting with one. Baby steps.
Instructions:
-
Start with a square piece of paper, color side up.
-
Fold in half diagonally both ways to form an “X.” Unfold.
-
Flip it over and fold in half vertically and horizontally. Unfold.
-
Collapse into a square base (like a diamond).
-
Fold the edges in to form a kite shape. Repeat on both sides.
-
Pull and fold the “legs” up to form the wings and tail.
-
Finish by folding the wings down and gently pulling the neck and tail to puff it out.
It takes a couple of tries, but once you nail it, you’ll want to fold a hundred just because it’s so oddly satisfying.
Project 2: Handmade Greeting Card (The “Pop” Edition)
We’re going 3D, baby.
Side Note : Promote & earn with Letterhanna’s affiliate program.

Materials:
-
A blank piece of cardstock
-
Decorative paper or old book pages
-
Scissors and glue
-
Your wit (for the inside message)
Steps:
-
Fold your cardstock in half (landscape style).
-
Cut two small slits on the fold—about 1 inch apart.
-
Push that little tab inward to create a “pop” stand.
-
On another piece of paper, draw something fun—like a heart, star, or cartoon animal.
-
Cut it out and glue it to the pop tab inside the card.
-
Decorate the front however you want: stickers, washi tape, doodles, or literal glitter explosions.
Bonus tip: Write a cheesy pun inside. “You’re the ‘highlight’ of my day” with a paper highlighter glued in? Iconic.
Crafting Mindset: Embrace Your Inner Kid
Here’s your permission slip to just play. Tear, fold, draw, crumple, start again. Paper crafts are low risk and high reward. You’re not building a rocket ship. You’re making joy. (Although if you do make a paper rocket… please show me.)
Beginner’s Paper Confidence Boosters:
-
If it rips, it’s now “distressed.”
-
If it folds wrong, it’s “abstract.”
-
If it looks weird, it’s “modern art.”
See? Everything’s art with the right attitude.
Unique Fact of the Day:
The world’s smallest origami crane was folded using a microscope.
Yes, in 2001, a Japanese scientist folded a crane from a piece of paper only 0.1 x 0.1 mm using tweezers under a microscope. It was smaller than a grain of sand. The dedication? Unmatched.
Here Are Some Fonts You Might Love! 👀