This is where your fonts get cozy. We’re turning cloth, canvas, and cotton into typographic playgrounds. Whether you want to make a personalized tote, a custom quote tee, or an embroidered affirmation to hang above your coffee bar, this is the juicy stuff.
Why Typography Loves Textiles (and Vice Versa)
-
Custom vibes. You can literally wear your favorite quote.
-
Gift goldmine. Monogrammed napkins or punny shirts? Chef’s kiss.
-
Typography teaches patience. Especially if you’re hand-embroidering the word “Supercalifragilisticexpialidocious.”
-
Fonts become fashion. Ever rocked a sweatshirt that says “Hustle Hard”? Now you can make one.
🪡 Tools of the (Textile Typography) Trade
Depending on your method of attack, here’s what you might use:
For Painting:
-
Fabric paint or markers
-
Freezer paper (for stencils)
-
Foam brush or fine tip brushes
-
Iron and ironing board
-
Fonts printed out on paper
For Embroidery:
-
Embroidery hoop
-
Embroidery floss
-
Fabric (cotton or linen is easiest)
-
Needle
-
Water-soluble pen or transfer paper
-
Fonts printed for tracing
For Iron-On Vinyl (Cricut & Co.):
-
Heat transfer vinyl (HTV)
-
Cutting machine (like Cricut or Silhouette)
-
Iron or heat press
-
Weeding tool
-
Font file loaded into your design software (SVG or PNG)
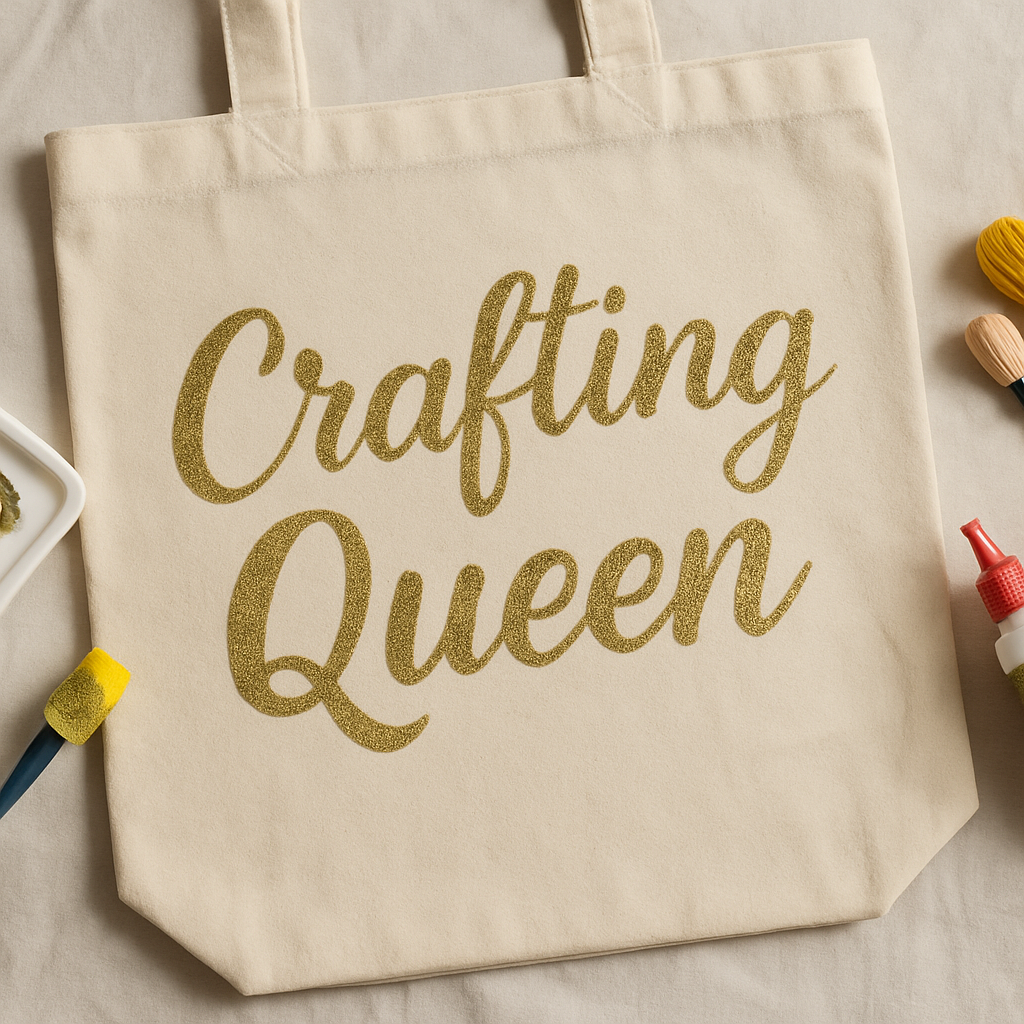
🧢 Project 1: “Say It with a Tote” – Painted Typography Bag
Steps:
-
Choose your quote—fun, fierce, or floral. Example: “Crafting is my cardio.”
-
Choose a bold, easy-to-read font. (Try Bebas Neue or Montserrat.)
-
Print out the text, then cut it into a stencil using freezer paper.
-
Iron the stencil onto a canvas tote.
-
Dab on fabric paint with a foam brush.
-
Let dry, peel the stencil, strut your tote around town like it’s haute couture.
🧵 Project 2: Embroidered Quote Hoop
Low-tech, high-impact.
Try out and download our best font for free 👀


Steps:
-
Choose a short quote. “Stay cozy” or “Kindness wins.”
-
Select a pretty script font like Great Vibes or Pacifico.
-
Trace the letters onto your fabric using transfer paper or a water-soluble pen.
-
Stretch the fabric into your hoop.
-
Start stitching! Back stitch or split stitch works great for lettering.
Pro tip: Add embellishments like little flowers or stars around the words for ✨ drama ✨.
Side Note : Promote & earn with Letterhanna’s affiliate program.
👕 Project 3: Custom T-Shirts with Iron-On Vinyl
Say goodbye to boring graphic tees. Hello, typographic flair.
Steps:
-
Choose your font. (Keep it bold and legible.)
-
Design the layout in your cutting software. Remember to mirror the text!
-
Cut it from heat transfer vinyl.
-
Weed the excess vinyl.
-
Position on your shirt and press with heat.
-
Peel and admire. You’re now a walking billboard of your own taste.
Typography Tips for Fabric Crafters
-
Avoid thin fonts for painting. Bleed city!
-
Stick to sans-serifs for iron-ons. Cleaner cuts, better readability.
-
Embrace script for embroidery. It’s like cursive with flair.
-
Prewash your fabric. Shrinkage is the enemy of perfect alignment.
-
Mix fonts carefully. Limit yourself to two per project—max.
Unique Fact of the Day 🧠
The first commercially successful T-shirt with printed typography was a political campaign tee from the 1948 U.S. presidential election. That’s right—fonts on fabric have been spreading messages for over 75 years!