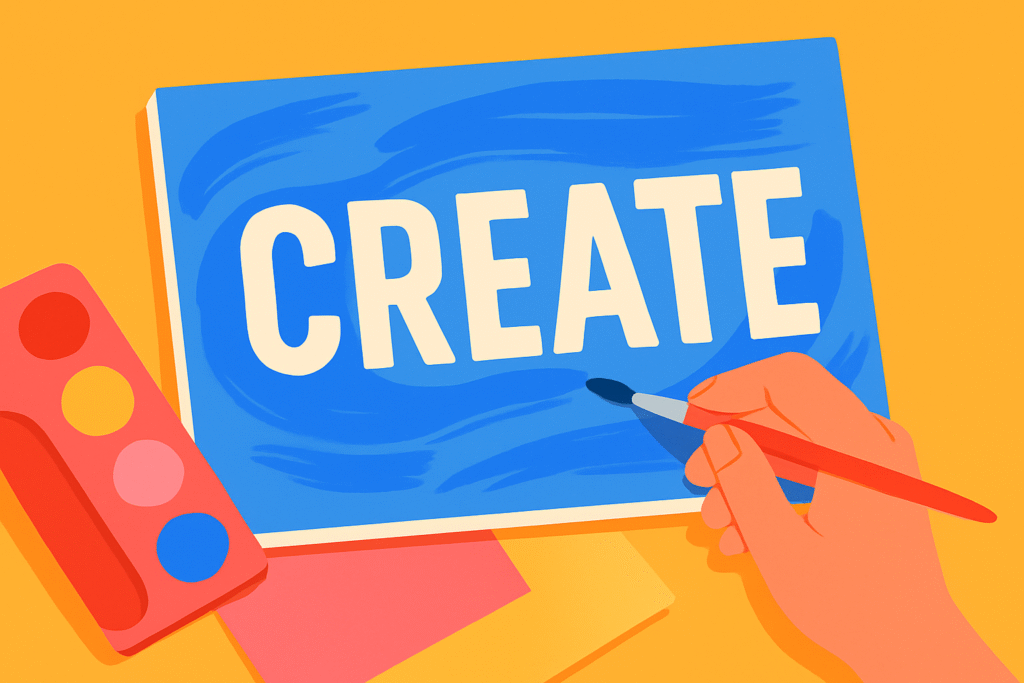
Typography isn’t just for graphic designers and your cousin who insists on using Papyrus for everything. It’s a powerful visual tool that combines form and function—and in today’s DIY world, it’s your secret weapon for wall-worthy inspiration.
This lesson is all about creating striking wall art that uses letters, words, and quotes to transform your space. Whether you’re working with canvas, paper, or even upcycled wood, your walls are about to start speaking volumes.
🧠 Unique Fact of the Day:
Typography wall art is one of the top five most-pinned craft categories on Pinterest every year since 2017. Why? Because people love words that speak to them—especially when they’re painted in gold foil or arranged in stylish block letters above a coffee station.
✨ Techniques We’ll Explore Today:
-
Stencil and Spray Paint Lettering
-
Hand-lettered Canvas with Acrylics
-
Mod Podge Collage Typography
-
Vinyl Letter Decals (DIY Style)
-
Recycled Wood + Painted Script Signs
These methods range from quick and easy to time-to-rewatch-your-favorite-series-in-the-background kind of detailed. Pick your project based on how bold (or patient) you’re feeling.
🛠 Supplies You’ll Likely Need
-
Canvas, wooden board, or thick watercolor paper
-
Acrylic paint or spray paint
-
Alphabet stencils or vinyl letters
-
Washi tape or painter’s tape
-
Pencil + ruler (measuring is caring!)
-
Paintbrushes or sponge brushes
-
Mod Podge or decoupage glue
-
Magazines, newspapers, or printed quotes
-
Craft cutting knife or scissors
-
Optional: Gold foil, twine, beads, sequins, etc.
🎨 Project 1: Hand-Lettered Canvas Quote
This is the Instagram classic—clean, simple, and oh-so-pinworthy.
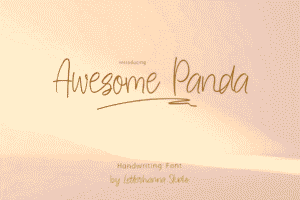
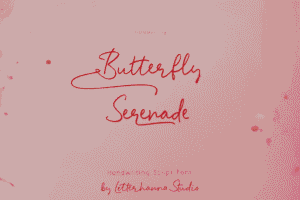
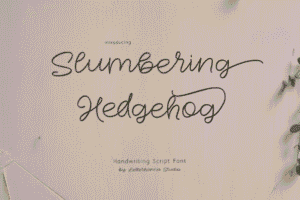
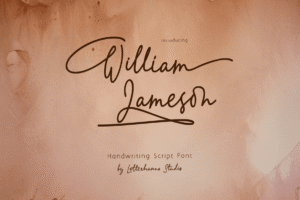
Try out and download our best font for free 👀


How To:
-
Choose a quote that makes you feel things (funny, inspiring, or petty—you do you).
-
Lightly sketch your text with a pencil onto the canvas.
-
Use a fine brush and acrylic paint to hand-letter it in a script or block font.
-
Optional: Add design flourishes like florals, shadows, or a gradient background.
Typography tip: Mix fonts. Use script for emotion, serif for impact, and sans-serif for clarity. Balance them like you’re designing your own billboard.
🧼 Project 2: Spray Stencil Street-Art Vibes
Fast, fun, and bold—this is typography for rebels.
How To:
-
Print out large block letters on cardstock and cut them out to make your own stencil.
-
Tape the stencil onto your surface (canvas, wood, wall, etc.).
-
Use spray paint (outdoors or in a ventilated area!) to apply color.
-
Let it dry and peel away the stencil.
Boom. Instant typographic drama.
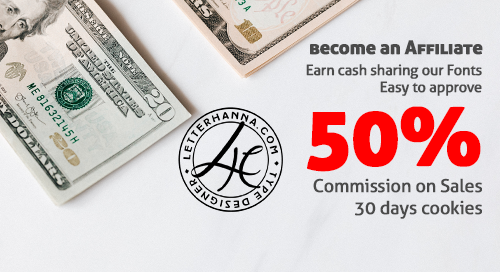
Side Note : Promote & earn with Letterhanna’s affiliate program.
📰 Project 3: Collaged Quote with Magazines
Channel your inner ransom note artist—but make it cute.
How To:
-
Cut letters from magazines, newspapers, or printed fonts.
-
Arrange them on canvas or thick paper to form your quote.
-
Glue them down with Mod Podge.
-
Seal with an extra layer on top for durability and shine.
This technique is particularly fun for mixing font styles and creating a retro punk vibe.
🌲 Project 4: Wooden Slab Typography
Farmhouse chic? Industrial edge? Rustic glam? Say no more.
How To:
-
Sand and paint or stain your wooden board.
-
Sketch or stencil your quote using chalk (for easy corrections).
-
Paint over it with acrylic or use a paint pen for precision.
-
Finish with sealant for longevity.
Bonus: Add hooks on the back and hang it like the masterpiece it is.
🌀 Want to Go Digital First?
Design your quote in a program like Canva, Procreate, or Photoshop first. Play with font pairings, spacing, and layout. Once you’re happy, print it out as a guide or use a projector to trace it onto your chosen medium.
💡 Typography Tips for Impact
-
Hierarchy matters: Emphasize keywords with bigger or bolder fonts.
-
Spacing is magic: Don’t cram letters. Give your words room to breathe.
-
Contrast counts: Use light letters on dark backgrounds and vice versa.
-
Alignment sets the tone: Left-aligned feels clean, center feels classic, and right-aligned feels a little rebellious.
Here Are Some Fonts You Might Love! 👀