Today’s lesson is a love letter to letters. Whether you’re printing out bold block text for a home sign or hand-lettering a dreamy quote on a canvas, fonts aren’t just visual tools—they’re personality with punctuation.
Fonts make crafts speak—literally. So, let’s explore fun, beginner-friendly projects where choosing the right typeface is part of the magic.
Why Fonts Are a Crafty Game-Changer
-
Instant emotion. Serif says classy, sans-serif says modern, script says “I own scented candles.”
-
Customizable text. Names, quotes, phrases—you’re in charge.
-
Perfect for gifts. Nothing says “I care” like your friend’s name in glitter vinyl.
-
Lettering is meditative. Seriously, ask any calligrapher—they vibe hard.
Your Typo-Toolbox (aka Crafting with Fonts Starter Kit)
Whether digital or analog, you’ll want:
-
Printable letter stencils or font templates
-
Transfer paper or carbon paper (for tracing)
-
Paint pens, brush markers, acrylic paint + fine brushes
-
Cricut or Silhouette (if you’re fancy)
-
X-Acto knife (for DIY stencils)
-
Ruler, pencil, and eraser
-
Your favorite fonts downloaded and ready to roll!
And of course—a surface to letter on! Think canvas, wood, paper, jars, fabric banners, even plant pots. (Yes, your ficus wants a name tag.)
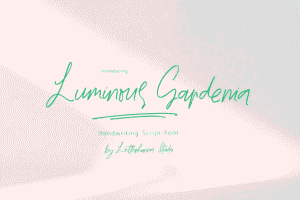
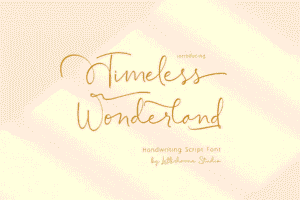
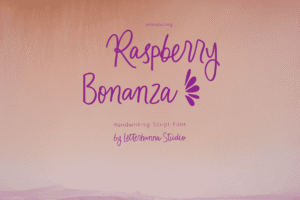
Try out and download our best font for free 👀


Project 1: Custom Canvas Quote Art
Perfect for wall décor or gifts, this is modern-day embroidery for your brain.
What You’ll Need:
-
Blank canvas or thick paper
-
Chosen quote or word
-
Printer + font (or hand-lettering skills)
-
Transfer paper or lightbox
-
Paint pen or brush
Steps:
-
Choose your favorite short quote.
-
Select a font (script + serif combos are trendy).
-
Print it out, place it over your canvas with transfer paper underneath.
-
Trace lightly with pencil.
-
Go over it with a paint pen or brush.
-
Add background color, doodles, or washi tape flair.
Font suggestion:
-
Bold & Friendly? Try Fredoka One
-
Elegant Script? Try Great Vibes
-
Rustic Modern? Go Playfair Display + Raleway combo
Project 2: Personalized Wooden Name Signs
These are great for doors, desks, weddings, or bedroom walls. Level-up points if you’re making them as gifts!
Side Note : Promote & earn with Letterhanna’s affiliate program.
Materials:
-
Wooden board or plaque
-
Chosen name or word
-
Cricut (or print-and-trace method)
-
Acrylic paint or vinyl
-
Sandpaper (for prep)
-
Optional: embellishments like flowers, rope borders, mini lights
How-To:
-
Sand the board for a smooth base.
-
Either cut the word out with a Cricut or print and trace it using transfer paper.
-
Paint the letters or apply vinyl.
-
Add decorations to match your theme.
Font Mood Tip: Want something whimsical? Try Pacifico. Want sleek modern? Use Montserrat Extra Bold.
Project 3: Hand-Lettered Glass Jar Labels
Cute and functional? Now you’re talking.
You’ll Need:
-
Empty glass jars (mason jars work great)
-
Paint pens (oil-based for glass)
-
Rubbing alcohol (clean the surface first!)
-
Printed font or handwritten labels
Steps:
-
Clean jar surface thoroughly.
-
Use printed font as a guide (trace on paper and tape inside the jar for guidance).
-
Letter your labels on the outside.
-
Let dry fully and cure if needed.
Now your pantry screams “organized adult” instead of “where’s the sugar?”
Crafting Mindset: Fonts Are Feelings
-
Don’t overthink your font choice—but do consider the vibe.
-
Balance readability with personality.
-
If you make a typo, well… now it’s an abstract art piece.
-
Mixing fonts = spice of life, just don’t use 5 at once unless you’re going full chaos goblin (in which case, I respect it).
Unique Fact of the Day:
Comic Sans was designed to mimic comic book lettering— but get this: it was originally meant for a Microsoft dog assistant program in the ’90s. So the next time you see it in a serious memo, just remember—it was never supposed to be serious in the first place.
Here Are Some Fonts You Might Love! 👀