Have you ever wanted to make your mark—literally? Welcome to Day 14 of our DIY Crafts series, where we dive into the art of creating your own custom stamps. But wait! This isn’t just about rubber and ink. Today we bring typography into play, teaching you how to design letter stamps, word motifs, and repeatable text patterns that scream you. This is where old-school printing meets modern creativity.
So grab your carving tools, a little courage, and let’s stamp out something memorable.
🖋️ Why Stamping?
Stamping is one of the most underrated craft techniques—seriously! It’s:
-
Reusable (one stamp = infinite impressions)
-
Versatile (cards, fabric, packaging, walls!)
-
Perfect for adding crisp, typographic elements to any project
Whether you’re branding handmade products, decorating notebooks, or making gift tags, custom stamps let you work smart and stylish.
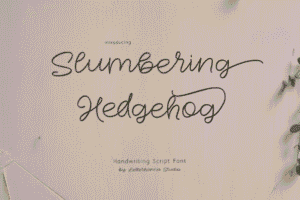
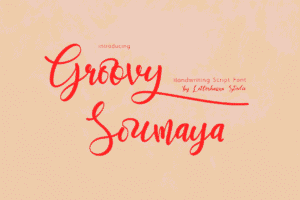
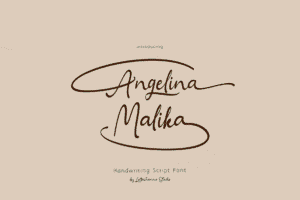
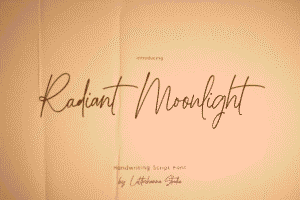
Try out and download our best font for free 👀


✂️ What You’ll Need:
-
Rubber stamp blocks or craft foam
-
Linoleum cutter or precision knife
-
Pencil and tracing paper
-
Ink pads in fun colors
-
Acrylic block (if making clear stamps)
-
Optional: laser printer & carbon paper (for image transfers)
🧠 Typography Concepts to Use
This is your chance to flex those letter-loving muscles:
-
Serif vs. Sans-serif: Clean fonts = easier carving
-
Monospaced Fonts: Great for even impressions
-
All Caps: Bolder and easier to cut
-
Handwritten Fonts: More expressive but slightly trickier
-
Decorative Type: Ideal for making a single word the star
Pro tip: Avoid fonts that are too thin or overly detailed—they’re heartbreakingly difficult to carve and often smudge when stamped.
✍️ How to Design a Typographic Stamp
-
Sketch It Out
Write or type your chosen word in your preferred font. Think short and sweet: “Thanks,” “Handmade,” “Yes!”—you get it. -
Transfer the Design
Trace your design in reverse (important!) onto tracing paper. If using a printer, flip the image in a photo editor first. -
Press & Trace
Place the design onto your rubber block and burnish with the back of a spoon to transfer it cleanly. -
Carve Carefully
Start with outlines, then carve away the negative space. You want the letters to remain raised. -
Test & Adjust
Ink your stamp, test it on scrap paper, and refine the edges as needed.
💌 Project Ideas
1. Custom Gift Tags
Use a short word like “JOY” or “LOVE” with decorative type. Stamp onto kraft tags for an instant boutique feel.
2. Business Branding
Stamp your shop name or initials on envelopes, thank-you cards, or even wrapping paper. Nothing says “artisan” like hand-stamped branding.
Side Note : Promote & earn with Letterhanna’s affiliate program.
3. Wall Art
Go big. Use foam stamps and bold letters to stamp inspiring words like “BREATHE” or “CREATE” on canvas or wood panels.
4. DIY Stationery
Make matching letterhead and envelopes with a minimal sans-serif monogram.
🔠 Font Pairing Tip of the Day:
Try using a bold slab serif for the main stamp word and pairing it with a script font added in ink or handwriting afterward. It creates visual hierarchy and a touch of personality.
🧽 Maintenance Tips
-
Clean your stamps immediately after use with a damp cloth
-
Store flat, away from heat and direct sunlight
-
Don’t press too hard—let the ink do the work!
🤯 Unique Fact of the Day:
The oldest known rubber stamp patent dates back to 1866—and was used for marking butter. Now you can stamp everything from love letters to linen tote bags. Progress, huh?
Here Are Some Fonts You Might Love! 👀